2024


2023

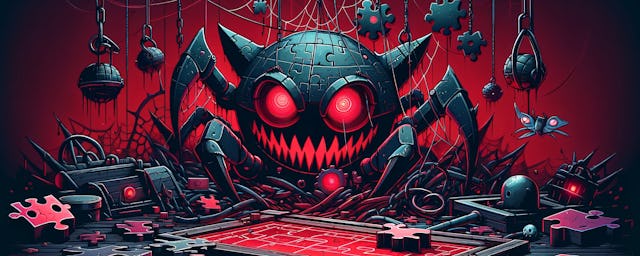
Tinkering With SpacetimeDB
16th December 2023
games
tech
databases
typescript
c sharp

Im now a Convex.dev Developer Champion!
6th November 2023
convex
personal
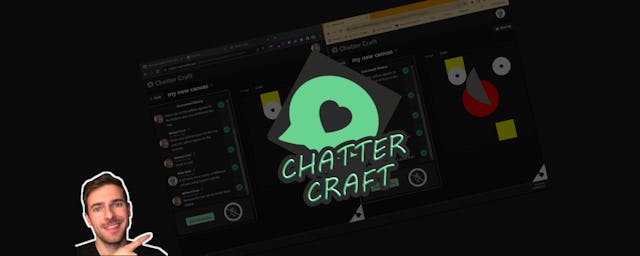
Chatter Craft - collaborative art with just your voice
2nd October 2023
ai
typescript
hackathon
competition
coding
development

Moving Home & Starlink
8th September 2023
personal
tech

Tinkering With Convex
4th August 2023
tinkering
convex
typescript
projects
BaaS

BattleTabs in 7 Minutes
17th July 2023
battletabs
gaming
gangbusters
youtube
video

Don't Buy a Fitbit
11th June 2023
rant
personal
ux

AI Profanity Checking in BattleTabs
5th May 2023
ai
typescript
games
gamedev
gangbusters

The Future of Applications
1st April 2023
ai
ui
prediction

The Typescript Utils I Can't Live Without
14th March 2023
typescript
code
utils

How to Save 20x on Your DB Costs
14th February 2023
gangbusters
postgres
heroku
fly.io
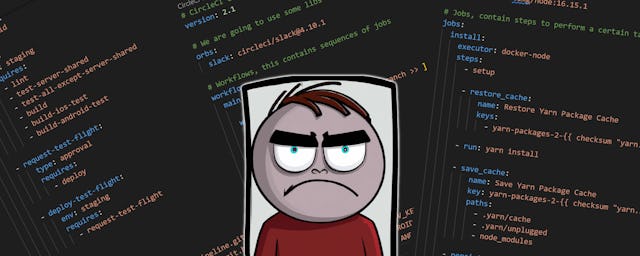
Rant - Why is CI Development so bad?
2nd January 2023
CircleCI
Jenkins
Github
Coding
Programmer
CI
2022
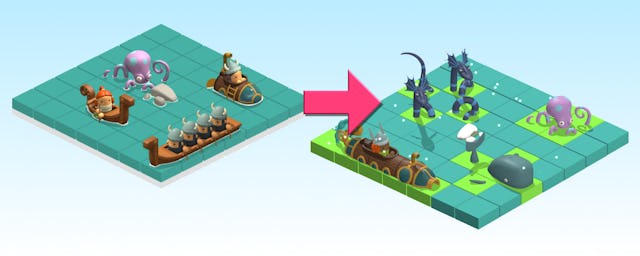
Why we converted BattleTabs from 2D to 3D
29th December 2022
battletabs
Gangbusters
GameDev
BabylonJS

AI & The Future of Game Development
3rd November 2022
ai
games
stable diffusion
GAN
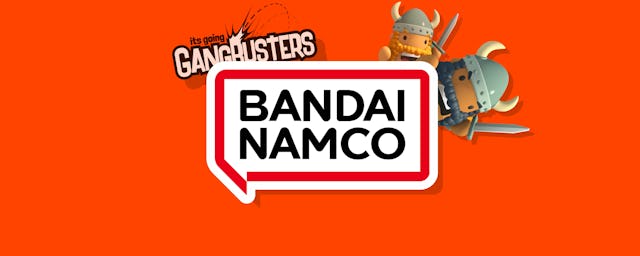
Bandai Namco Invests in Gangbusters
15th October 2022
gangbusters
business
investment

Discriminated Unions & Pattern Matching in Typescript
30th September 2022
typescript
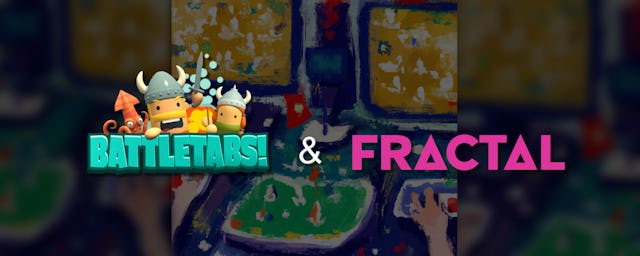
BattleTabs & Fractal
14th August 2022
nfts
blockchain
battletabs
gaming
gangbusters
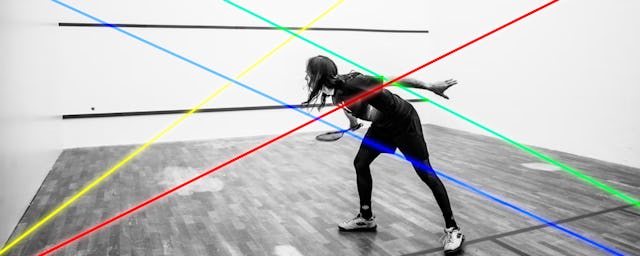
Squash, Lasers and Other Thoughts
16th July 2022
project
squash
theory
AI
Computer Vision

Firebase Cloud Messaging and Chrome Extension Manifest V3
14th June 2022
tips
extension
browser
typescript

Post To Tumblr Sunset
14th April 2022
ptt
projects

Vincent van Cann Sails the OpenSea
27th March 2022
art
cypto
web3
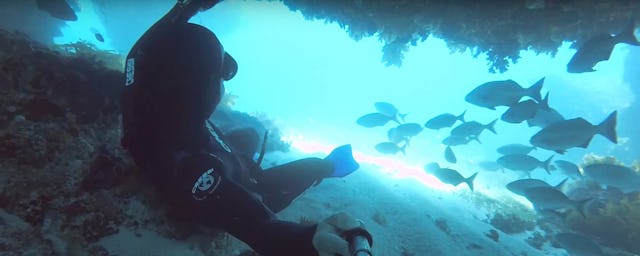
Under Da Sea
20th February 2022
personal
freediving

Tech to Tinker with in 2022
24th January 2022
cloudflare
faunadb
solidjs
tech
tinkering
2024
2023
Tinkering With SpacetimeDB
16th December 2023
games
tech
databases
typescript
c sharp
Im now a Convex.dev Developer Champion!
6th November 2023
convex
personal
Chatter Craft - collaborative art with just your voice
2nd October 2023
ai
typescript
hackathon
competition
coding
development
Moving Home & Starlink
8th September 2023
personal
tech
Tinkering With Convex
4th August 2023
tinkering
convex
typescript
projects
BaaS
BattleTabs in 7 Minutes
17th July 2023
battletabs
gaming
gangbusters
youtube
video
Don't Buy a Fitbit
11th June 2023
rant
personal
ux
AI Profanity Checking in BattleTabs
5th May 2023
ai
typescript
games
gamedev
gangbusters
The Future of Applications
1st April 2023
ai
ui
prediction
The Typescript Utils I Can't Live Without
14th March 2023
typescript
code
utils
How to Save 20x on Your DB Costs
14th February 2023
gangbusters
postgres
heroku
fly.io
Rant - Why is CI Development so bad?
2nd January 2023
CircleCI
Jenkins
Github
Coding
Programmer
CI
2022
Why we converted BattleTabs from 2D to 3D
29th December 2022
battletabs
Gangbusters
GameDev
BabylonJS
AI & The Future of Game Development
3rd November 2022
ai
games
stable diffusion
GAN
Bandai Namco Invests in Gangbusters
15th October 2022
gangbusters
business
investment
Discriminated Unions & Pattern Matching in Typescript
30th September 2022
typescript
BattleTabs & Fractal
14th August 2022
nfts
blockchain
battletabs
gaming
gangbusters
Squash, Lasers and Other Thoughts
16th July 2022
project
squash
theory
AI
Computer Vision
Firebase Cloud Messaging and Chrome Extension Manifest V3
14th June 2022
tips
extension
browser
typescript
Post To Tumblr Sunset
14th April 2022
ptt
projects
Vincent van Cann Sails the OpenSea
27th March 2022
art
cypto
web3
Under Da Sea
20th February 2022
personal
freediving
Tech to Tinker with in 2022
24th January 2022
cloudflare
faunadb
solidjs
tech
tinkering

Mike Cann
A professional software developer that just cant stop tinkering with things
2024
2023
Tinkering With SpacetimeDB
16th December 2023
games
tech
databases
typescript
c sharp
Im now a Convex.dev Developer Champion!
6th November 2023
convex
personal
Chatter Craft - collaborative art with just your voice
2nd October 2023
ai
typescript
hackathon
competition
coding
development
Moving Home & Starlink
8th September 2023
personal
tech
Tinkering With Convex
4th August 2023
tinkering
convex
typescript
projects
BaaS
BattleTabs in 7 Minutes
17th July 2023
battletabs
gaming
gangbusters
youtube
video
Don't Buy a Fitbit
11th June 2023
rant
personal
ux
AI Profanity Checking in BattleTabs
5th May 2023
ai
typescript
games
gamedev
gangbusters
The Future of Applications
1st April 2023
ai
ui
prediction
The Typescript Utils I Can't Live Without
14th March 2023
typescript
code
utils
How to Save 20x on Your DB Costs
14th February 2023
gangbusters
postgres
heroku
fly.io
Rant - Why is CI Development so bad?
2nd January 2023
CircleCI
Jenkins
Github
Coding
Programmer
CI
2022
Why we converted BattleTabs from 2D to 3D
29th December 2022
battletabs
Gangbusters
GameDev
BabylonJS
AI & The Future of Game Development
3rd November 2022
ai
games
stable diffusion
GAN
Bandai Namco Invests in Gangbusters
15th October 2022
gangbusters
business
investment
Discriminated Unions & Pattern Matching in Typescript
30th September 2022
typescript
BattleTabs & Fractal
14th August 2022
nfts
blockchain
battletabs
gaming
gangbusters
Squash, Lasers and Other Thoughts
16th July 2022
project
squash
theory
AI
Computer Vision
Firebase Cloud Messaging and Chrome Extension Manifest V3
14th June 2022
tips
extension
browser
typescript
Post To Tumblr Sunset
14th April 2022
ptt
projects
Vincent van Cann Sails the OpenSea
27th March 2022
art
cypto
web3
Under Da Sea
20th February 2022
personal
freediving
Tech to Tinker with in 2022
24th January 2022
cloudflare
faunadb
solidjs
tech
tinkering